In a previous post, I talked about the difference between juice, smoothies and shakes.
And in that blog post, I mentioned that at some point I’d share…
How to juice without a juicer
Well, here is that post!
Now if you’re a visual or auditory learner you can watch the video immediately below – otherwise, scroll down to read the information!
In order to juice without a juicer, here’s what you’ll need:
– Blender
– Nut milk or paint strainer bag
– Medium to large bowl
– Fruit and/or vegetables of choice
 Step One:
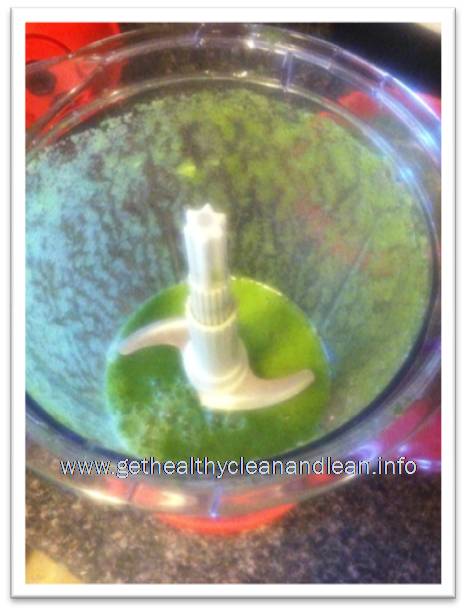
Put ingredients into your blender with about 1/8-1/4 cup of water. Begin blending and if your blender is not turning over well, add a little bit more water. You don’t want to add too much water as to make your juice watered down, but add enough to where the ingredients can blend well. Blend until there are no more visibly large chunks, even if this means stopping the blender, scraping down the sides, and running it again.
 Step Two:
Strain your juice to remove the pulp – this is where your nut milk bag comes into play! Now, if you do not have a nut milk bag or simply would like to save a little extra money, run down to your local Home Depot or Lowe’s and get what’s called a paint strainer bag. You may even find them two bags to a pack for around $2.00, give or take some cents! It works just as well as the nut milk bag!
And if you’re not too keen on the idea of a paint strainer bag but still want a less costly alternative to nut milk bags…you can also look into something called, jelly strainer bags used when making and canning homemade jelly!
I recently stumbled upon them online and they appear to have the same look and function as a paint strainer bag, but I’m assuming they’re more food grade friendly! But it’s your choice! I’ve used the paint strainers with no problem and you can always pre-wash them if you’re concerned.
Place your bag into the bowl that you set aside and fold the edges of the bag over the edges of the bowl. Pour your juice into the bag/bowl.
With a gentle, yet firm hand squeeze the bag to get the juice into the bowl. Don’t squeeze too hard as you might cause the bag to get a hole in it. Keep squeezing until you have gotten all or most of the juice out from the pulp, which will be inside of the bag. This pulp can be put into compost, frozen for future use in recipes or just tossed out.
Step Three:
 Pour your strained juice into a glass and enjoy!
It’s as simple as that and the clean up is a lot quicker and easier than with most standard juice extractors (juicers) and your strainer bag can be rinsed, dried and reused – yes, you can toss into the washing machine and wash it that way too!
Hints & Tips:
The more powerful the blender the better, especially for making green juices using the tougher greens such as kale, collards, etc. but if it is not in your budget to get a high-powered blender, do the best that you can with what you have!
Just be sure to blend long and well enough to break the food down as much as possible to get the most nutrition from your juice. In fact, when I took photos of myself making juice for the video in this post, I used the Ninja Master Food Prep and Drink Mixer and it worked just fine!
For this demonstration, I used a small handful of spinach, about 6-8 green grapes, ½ pear and about 1 TBS. of fresh lemon-lime juice for a deliciously-refreshing juice that was sweet with a hint of tartness!
But you can use whatever combination you desire – get recipe ideas from juicing websites, blogs, videos and books!
